Why Headlights Turn Yellow and Foggy — And How to Tell UV Damage From a Real Seal Leak
Cloudy headlights usually mean one of two very different problems. Here's the fast test that tells them apart, and what fixing each one actually costs.
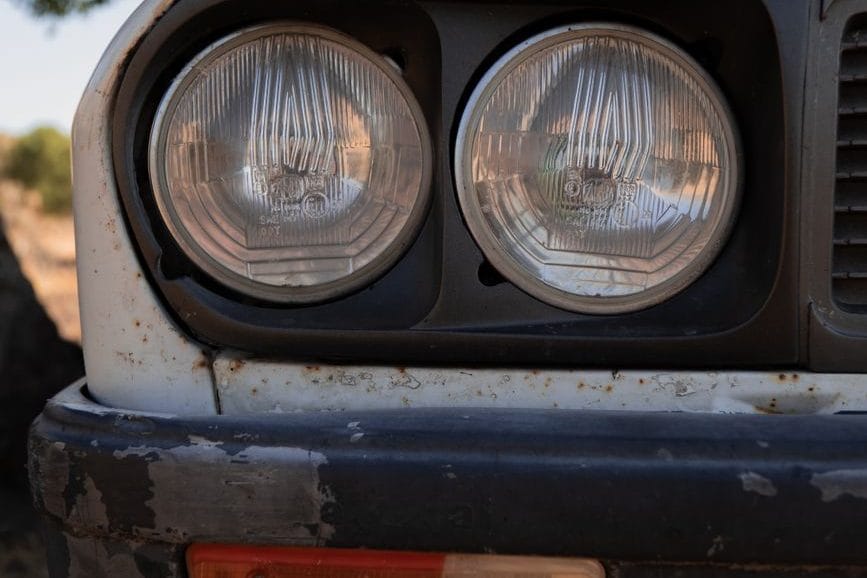
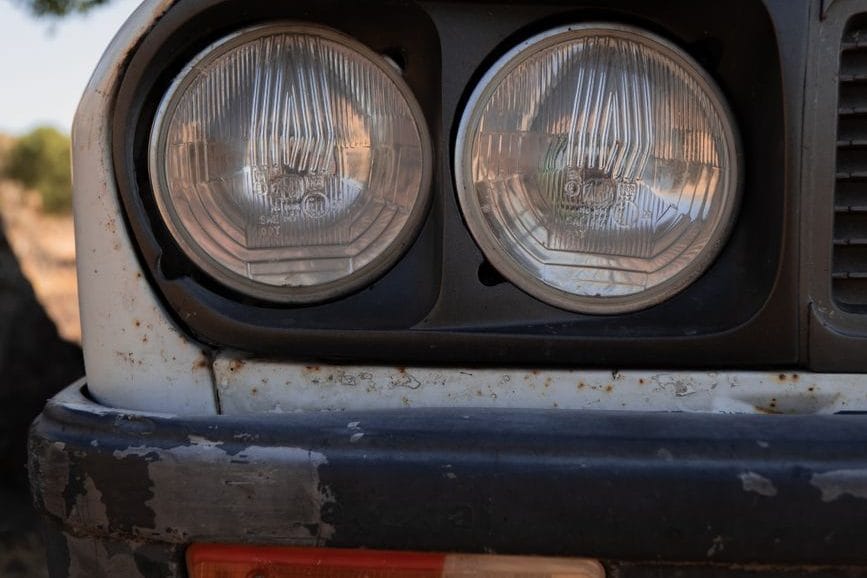
Pull up next to a five-year-old car at a red light and you can usually tell the story of its life from the headlights alone. One car has lenses so clouded they look sandblasted, throwing a dull amber glow instead of a beam. The one next to it looks factory-fresh. Same climate, similar mileage, wildly different outcome — and the difference almost never comes down to luck. It comes down to which of two very different problems the housing developed, and whether anyone caught it early.
The two failure modes look identical from the driveway
From ten feet away, a UV-oxidized lens and a lens with water trapped inside look almost the same: hazy, yellowed, less light output at night. That's exactly why so many owners buy the wrong fix. A $14 polish kit does nothing for trapped moisture, and a new gasket does nothing for sun damage. Figure out which one you actually have before you spend a Saturday on it.
Polycarbonate headlight lenses — pretty much universal since the late 1980s, when automakers ditched sealed-beam glass — are coated at the factory with a UV-resistant clear coat, usually a thin layer of polyurethane or acrylic. That coating is the only thing standing between sunlight and the raw plastic underneath. Once it wears through, the polycarbonate itself starts to oxidize, and there's no coming back from that with soap and water.
UV oxidation: what's actually happening to the polycarbonate
UV oxidation is a chemical breakdown, not surface dirt. Ultraviolet light snaps the polymer chains in the plastic, and the byproducts of that breakdown are what create the yellow-brown tint and the microscopic surface pitting that scatters light instead of focusing it. Southern states see this constantly — Arizona, Texas, and Florida DMVs report headlight-related failed inspections at rates several times higher than the Pacific Northwest, and it's almost entirely a function of annual UV exposure, not age in years. A car garaged in Seattle can go 12 years with clear lenses; the same model parked outside in Phoenix can look cloudy by year four.
Heat plays a supporting role too. Dark-colored cars and cars parked nose-in toward the sun run hotter under the hood, and that heat accelerates the same oxidation reaction. If you've ever noticed that one headlight is noticeably worse than the other on the same car, check which side faces the street when it's parked — it's rarely a coincidence.
The flashlight test that tells you which one you have
Here's the fifteen-second diagnostic mechanics actually use before quoting a repair. Shine a flashlight directly into the lens at a low angle, in a dark garage, and look for water droplets or condensation clinging to the inside surface. If you see beading or fog on the interior of the lens — not the outside — that's moisture ingress, and no amount of exterior polishing will touch it. If the inside is bone dry and the haze is purely on the outer surface, you're dealing with UV oxidation, and it's a surface problem you can actually sand and buff your way out of.
There's a third possibility worth ruling out: a cracked or separated housing seam, usually from a parking lot fender-bender that never got properly repaired. Run a finger along the seam between the lens and the black housing base. If it flexes or you can see daylight through a gap, that's a structural failure, not oxidation — and it'll keep letting water in no matter how many times you dry it out.
Fixing UV haze: restoration kits vs replacement lenses
For straightforward UV oxidation, a restoration kit is the right call almost every time — replacing the whole assembly for cosmetic haze is money you don't need to spend. 3M's kit (around $20 at most auto parts stores) and Sylvania's version perform close to identically in independent testing: both use progressively finer sandpaper to remove the damaged clear coat, followed by a polishing compound and a UV-blocking sealant. Skip the sealant step and you're buying yourself six months before the haze creeps back, since you've just removed the only UV protection the lens had left.
Don't bother with the toothpaste-and-baking-soda videos that circulate every few months. They'll knock down light surface haze temporarily, but without a UV sealant afterward, unprotected polycarbonate re-oxidizes within a season — often faster than before, since the DIY abrasive leaves a rougher surface than a proper 800-to-3000-grit progression. If the plastic itself is pitted deep enough that a fingernail catches on it, no kit will fix that; at that point you're looking at OEM replacement lenses, which run anywhere from $80 for a common economy sedan to well over $600 a side for anything with integrated LED projectors or adaptive beam modules.
Fixing moisture ingress: reseals, and when to just replace the housing
Moisture ingress is the harder problem, and it's the one people misdiagnose most often because the symptom — cloudy-looking lens — mimics UV damage so closely. Water gets in through a failed gasket seal, a cracked vent tube, or a housing seam that was never fully welded from the factory (a known issue on certain early-2010s Hyundai and Kia models). Once inside, condensation cycles with temperature changes, and standing water eventually promotes mold growth on the reflector surface — which no amount of exterior polish will ever remove, because it's on the wrong side of the lens.
The fix depends on where the leak is. A failed gasket around the bulb access panel is a $15–30 part and a twenty-minute job on most cars. A cracked vent tube is similarly cheap but fiddly to reach. A seam failure on a fused (non-serviceable) housing is a different story entirely — those units are ultrasonically welded shut at the factory, and there's no clean way to reopen and reseal one without risking a worse leak than you started with.
Should you attempt a DIY reseal on a fused housing anyway? Some people do it with silicone and a heat gun, and occasionally it holds. More often it doesn't, and you've now spent an afternoon to delay a replacement you were going to need regardless.
What it costs, and when a $15 kit isn't the answer
Total cost really splits into three tiers. UV haze on an otherwise sound housing: $20–35 in kit materials and an hour of your Saturday — do this yourself, it's genuinely not worth paying a detail shop $75–120 for the same result. A failed gasket or vent tube: $15–40 in parts, still a driveway job for anyone comfortable with a socket set. A cracked or delaminated fused housing with confirmed internal moisture: budget for the replacement assembly, because every month you delay is another month of accelerated reflector corrosion, and a corroded reflector kills your beam pattern in a way no amount of lens polishing will ever restore.
One more thing worth checking before you spend anything: on cars still under the powertrain or bumper-to-bumper warranty, headlight housing failures from water intrusion are sometimes covered as a manufacturing defect, particularly on models with a documented pattern of seam failures. It costs nothing to call the dealer's service department and ask before you buy parts — plenty of owners pay out of pocket for a fix the automaker would have covered.